Maps are important part of our life. We use them daily to find places and directions. The MapKit framework makes it easy for developers to implement applications which can make use of the maps in the applications. In this article we are going to introduce the MapKit framework for iOS programming.
Concepts:

There are several concepts that we must learn first before diving into the code.

MKMapView: MKMapView is a UI control which is used to display map in iOS devices.

Annotation: Annotations is information related to a particular place on the map. These include grocery stores, gas stations, malls or even custom information inserted by the user.

AnnotationView: The visual appearance of Annotations are defined using the MKAnnotationView class. By default the annotations are displayed using the pin annotation view.

Referencing the Frameworks:

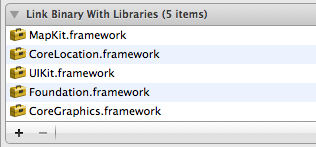
For this application we will be using the MapKit.framework and CoreLocation.framework. Add both the frameworks to your project using the Build Phases tab as shown below:


Displaying Map Using MKMapView Control:

After adding the reference to the MapKit.framework and CoreLocation.framework libraries we are ready to create our MapKit application. The first step in using the MapKit framework is to display the map on the iOS device. This can easily be performed by using the MKMapView control. Let's drag and drop the MapView control on the user interface with the help of the interface builder.

Also, make sure to link the MKMapView control to the controller. The MapKitDemoAppDelegate.h implementation is shown below:


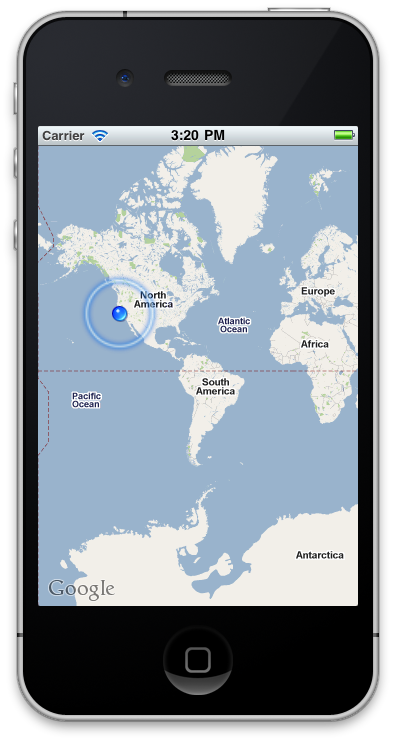
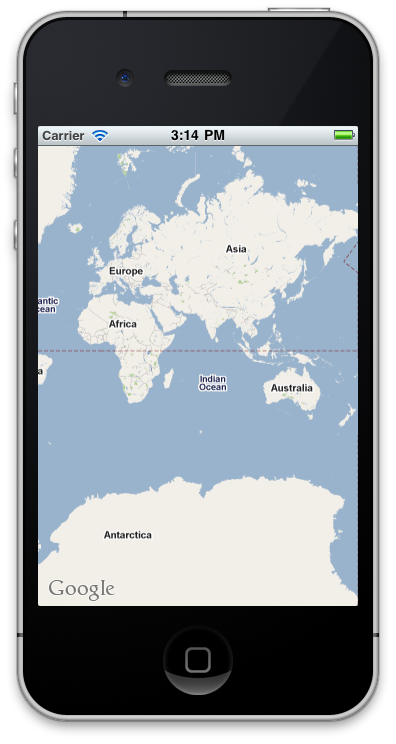
Run the application and you will see the map of the world as shown in the following screenshot:


Pretty cool right!

We can even focus on the current position of the user using the following code:


The CLLocationManager class is responsible for fetching information about the user's location. The following line enables the mapView to show the user's current location.


The following screenshot shows the effect:


Although the user's location is focused in the map but currently is shows an eagle view of the location. We need to zoom into the location to get more details. This can be easily accomplished by using the following implementation:


didAddAnnotationViews is one of the delegate methods of the MKMapViewDelegate which will send the events to the current controller as setup inside the didFinishLaunchingWithOptions method:


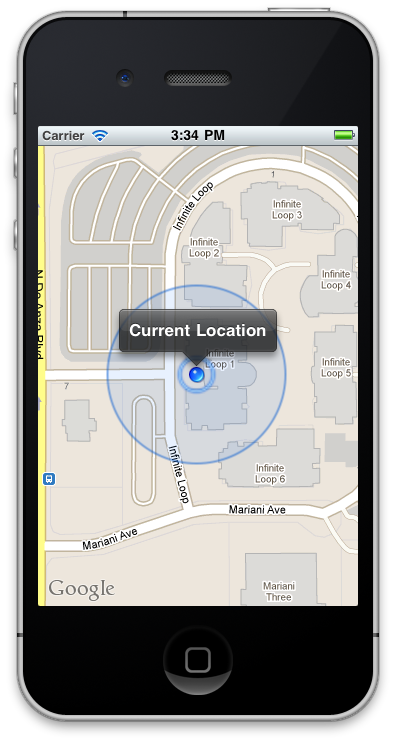
Since, there is currently only one annotation view added to the map we can access it using the [views objectAtIndex:0] method. MKCoordinateRegion creates a customized region on the map which can be zoomed in or out. The following screenshot shows the map zoomed in on the user's location.


One thing to notice is that the simulator shows the user's current location  in California where the Apple's headquarter is located. In order to get the correct user location you must run the application on the device. In the next section we are going to add annotations to our map.

Adding Annotations to the Map:

We are going to create our own custom annotation by inheriting from the MKAnnotation class as shown in the implementation below:


The didUpdateUserLocation method of the MKMapViewDelegate is called when a new location update is received by the map view. Inside this method we are going to create custom annotations and add them to the map.


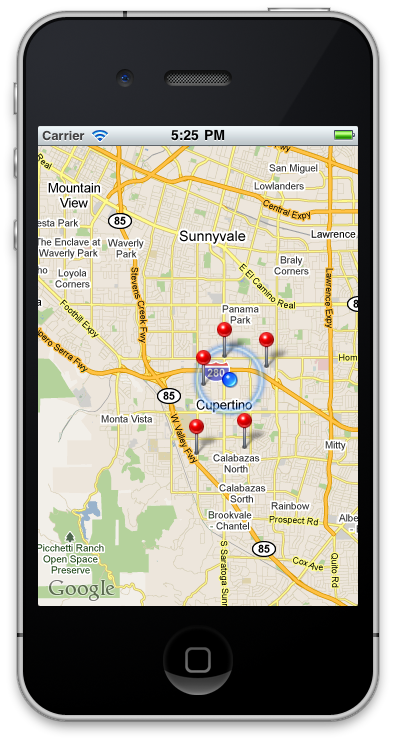
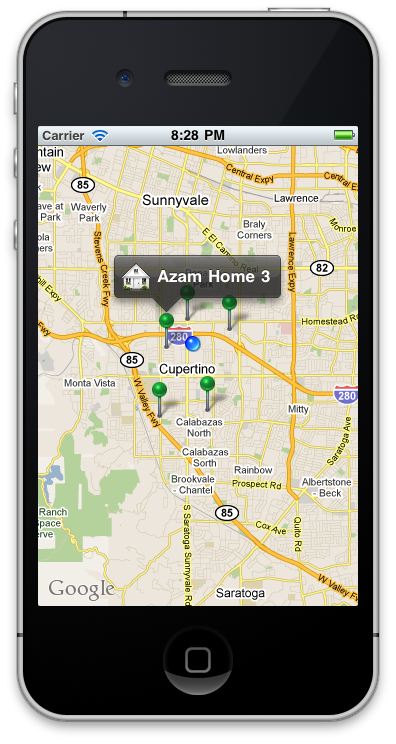
As shown in the above code we are creating annotations at random coordinates and then adding them to the map view control. The screenshot below shows the effect in action:


If you click on any of the annotations it will pop out a callout with custom text. We can make the callout more attractive by adding a small house on the left or right hand side of the callout. In the next section we are going to demonstrate how to create custom annotations to our map.

Implementing a Custom Annotation View:

Before implementing a custom annotation view we can make use of the built-in annotation views for our map. MKPinAnnotationView also allows the user to attach different controls to the annotations. The leftCalloutAccessoryView and rightCalloutAccessoryView can be used to show custom items in the annotation. The following implementation shows how a custom image can be shown in the annotation callout:


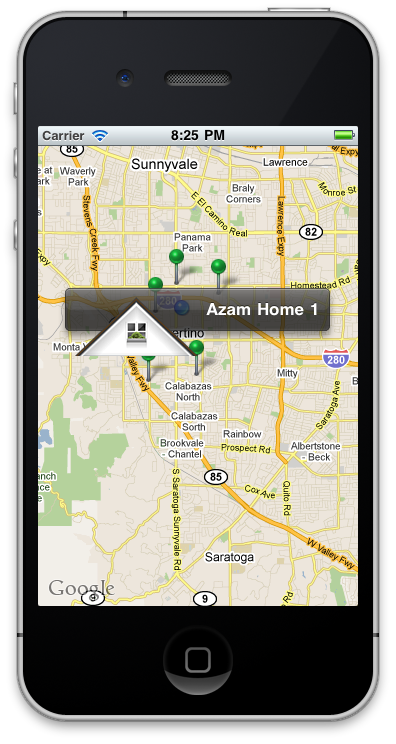
In order to improve the performance of the map view control we are storing the annotations type using an identifier. This means if the same annotation is used in different parts of the map then we reuse the same annotation without creating it from scratch. Run the code and click on any of the green pin and you will see a similar output:


Now, the annotations are displayed with an image but as you can see the image size is too big for the callout. We can easily adjust that using the following code:


Now, run the application again and notice how the house fits perfectly inside the callout.


Although we have customized the callout of the annotation we have not changed the appearance of the pin. The pin can easily be changed by creating a custom annotation view class and overriding the drawRect method. The implementation below creates a custom annotation view class called "LameAnnotationView" which inherits from MKAnnotationView.


In order to use the our new LameAnnotationView we simply substitute the MKPinAnnotationView with LameAnnotationView as shown below:


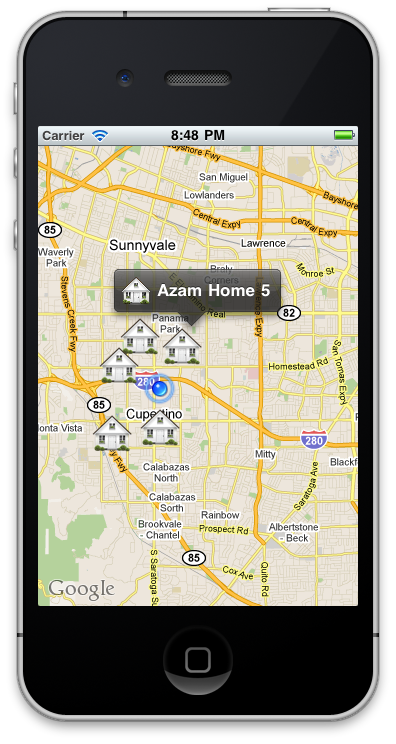
Run the application and you will notice that the default pin annotations views are now replaced with our custom LameAnnotationView.


In the process of customizing our annotation views we have lost the animation effects. But this can easily be added again by using core animation library. The following code shows how to add drop animations to our custom annotation views.


Now run the application and you will notice that the houses animates using the drop animation that we implemented in the didAddAnnotationViews method.

Conclusion:

In this article we learned how to get started with the MapKit framework. We also demonstrated how to write custom annotations and custom annotation views which can greatly enhance the user experience.